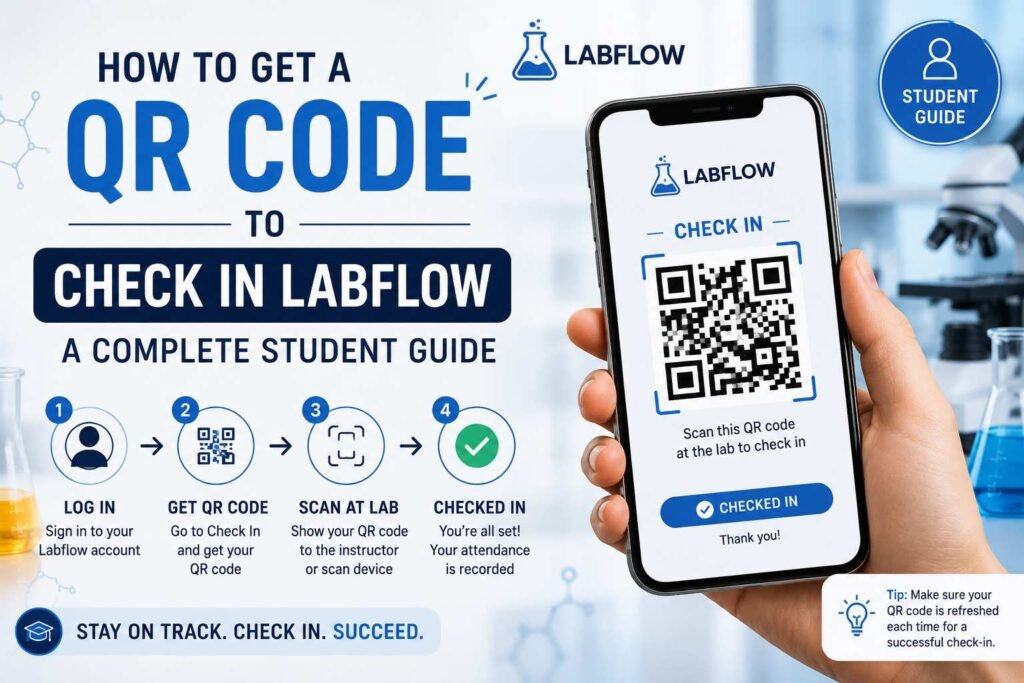
If you are wondering how to get a QR code to check in on Labflow, the process is usually much easier than it seems. In Labflow, the QR code is automatically generated inside your lab report when your instructor enables the QR-code attendance or checkpoint tool. You do not need to create the QR code manually. Instead, you simply open your report, begin inputting your lab data, and present the generated QR code to your TA, IA, or instructor to scan.
What Is the Labflow QR Code?
Labflow is an online platform used by universities and colleges to handle lab assignments, pre-lab/post-lab reports, quizzes, and real-time data entry. Depending on your instructor’s setup, Labflow uses QR codes for taking attendance, verifying experiment progress, checking data accuracy, or unlocking assignment sections.
The QR code is unique to your individual lab report or student session. It renders directly on your device screen and is scanned using an instructor’s or TA’s device.
Step-by-Step: How to Get Your Check-In QR Code
Follow these steps when your class utilizes Labflow’s QR-code check-in feature:
1. Log In to Labflow
Navigate to Labflow and log in to your student account using an updated web browser such as Chrome, Firefox, Safari, or Edge.
2. Select Your Lab Course & Section
Choose the appropriate course and section from your dashboard. Labflow uses your specific section enrollment to map assignments and checkpoints correctly.
3. Open the Active Lab Report
Navigate to the active experiment module and open the report directly. Do not search for a standalone “QR generator” tool, as check-in codes are embedded directly within assignment reports.
4. Progress to the Checkpoint
Begin filling out required observations or data fields. In many course setups, the QR code only populates once you reach a specific required checkpoint in the report.
5. Display the Code for Scanning
Once the QR code displays on your laptop, tablet, or mobile screen, keep the browser tab open and present it to your TA or instructor.
6. Confirm Verification
Wait for the scan to register. Once verified, Labflow typically displays a confirmation message or green checkmark, allowing you to click Next and proceed.
Do I Need to Create the QR Code Myself?
No. You should never use third-party QR code generators. Labflow dynamically creates the code inside your assigned report once prerequisites are met.
Troubleshooting: Why Can’t I See the QR Code?
If your check-in code isn’t appearing, review these common causes:
- Incomplete Report Prerequisites: You may need to answer initial safety questions or enter baseline lab data before the checkpoint unlocks.
- Feature Not Used in Your Course: Not all lab courses use QR check-ins; your instructor may use direct manual entry or digital submissions instead.
- Incorrect Section Enrollment: If you enrolled in the wrong section via a course code, your report checkpoints may not align with your physical section.
What to Do If the Code Won’t Scan
If your TA is having trouble scanning the code on your screen, try the following adjustments:
- Increase Screen Brightness: Turn display brightness to maximum.
- Adjust Zoom Levels: Reset browser zoom to 100% so the code edges are not cropped or distorted.
- Eliminate Screen Glare: Tilt your screen away from bright overhead lab lights.
- Maintain Steady Hold: Hold your device steady while the TA’s scanner focuses.
Important Policy & Usage Reminders
Can I Use a Screenshot of the QR Code?
Generally, no. Many university chemistry and science departments mandate that codes are generated and scanned live in the laboratory during designated class hours. Screenshots taken outside of class time may be invalidated by system timestamps or instructor policies.
What Happens After the Scan?
Depending on course settings, a successful scan either logs your physical attendance or unlocks subsequent modules (such as post-lab questions or data analysis sections).
Best Practices for a Smooth Lab Check-In
- Log In Early: Open Labflow prior to the start of the lab session to avoid network congestion delays.
- Keep Devices Charged: Ensure your mobile device or laptop has adequate battery life for the lab period.
- Confirm Verification: Always verify that your TA received a green confirmation checkmark on their device before navigating away or leaving the lab.
- Seek Support Promptly: If hardware issues prevent check-in, notify your instructor immediately or visit the Catalyst Education Support Center.
Frequently Asked Questions
How do I get a QR code in Labflow?
Open your assigned lab report, complete the initial required steps, and navigate to the embedded checkpoint page where the code auto-generates.
Who performs the scan?
Your Teaching Assistant (TA), Instructional Assistant (IA), or course instructor scans the code from your screen.
Can I use someone else’s QR code?
No. Every Labflow QR code is uniquely encrypted and tied directly to your individual student account and report session.
Conclusion:
Learning how to get QR code to check in Labflow is straightforward once you understand that you generally don’t create the code yourself. Instead, you log into Labflow, open the appropriate laboratory report, complete the required steps, and look for the QR code when you reach the designated checkpoint.
Once it appears, display it on your screen and have your TA, IA, or instructor scan it. A successful scan may produce a confirmation or green checkmark and allow you to continue with your laboratory assignment.
Because Labflow courses can be configured differently, your exact workflow may vary. If the QR code doesn’t appear or your scan isn’t registering, the fastest solution is usually to check your course instructions and ask your TA or instructor for assistance before leaving the lab. Labflow also provides a student support center with troubleshooting and how-to resources.